Overview
OPTICAL 3D-MEASUREMENT
With optical 3D measurement, the components are scanned using strip light or laser and then compared with the 3D model from the CAD system to produce a comparison with the design data.
TACTILE 3D MEASUREMENT
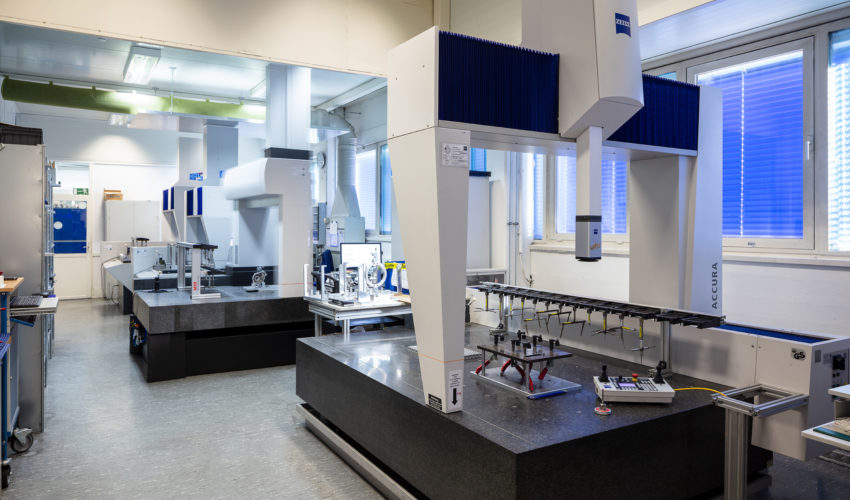
The tactile 3D measurement by means of a coordinate measuring machine enables the comparison of the machined components in the μm area.

PRODUCTION-INTEGRATED MEASUREMENT
For components for which conventional measuring methods cannot be applied or are insufficient, individual test procedures are developed, integrated and integrated into the automation or implemented partially automated.
OPTICAL CONTOUR ROUGHNESS MEASUREMENT
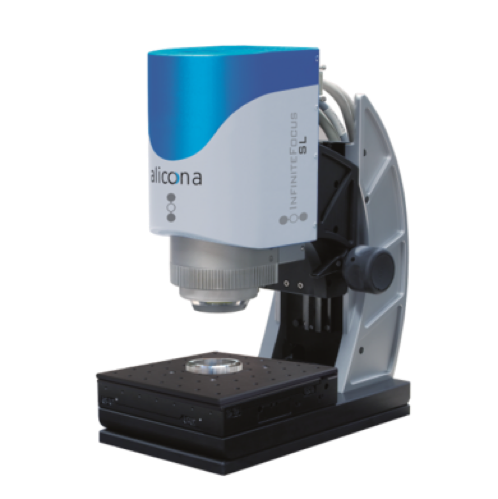
The optical contour and roughness measurement is used to check highly sensitive surfaces for damage.

CONTOUR CHECK
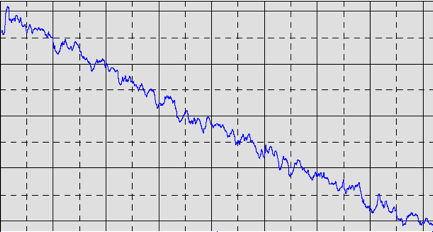
With the help of tactile testing, the finest contours of a product or tool can be determined. For this purpose, the result of a needle-guided measurement is projected into a diagram.

ROUGHNESS MEASUREMENT
To determine the roughness of a products surface, it is tested by a tactile measuring system.
The result of this needle-guided measurement is then projected into a diagram.
The result of this needle-guided measurement is then projected into a diagram.


